How to Tell Whether a Beauty and Cosmetic Trend Is Helpful, Harmless, or Just Clever Marketing
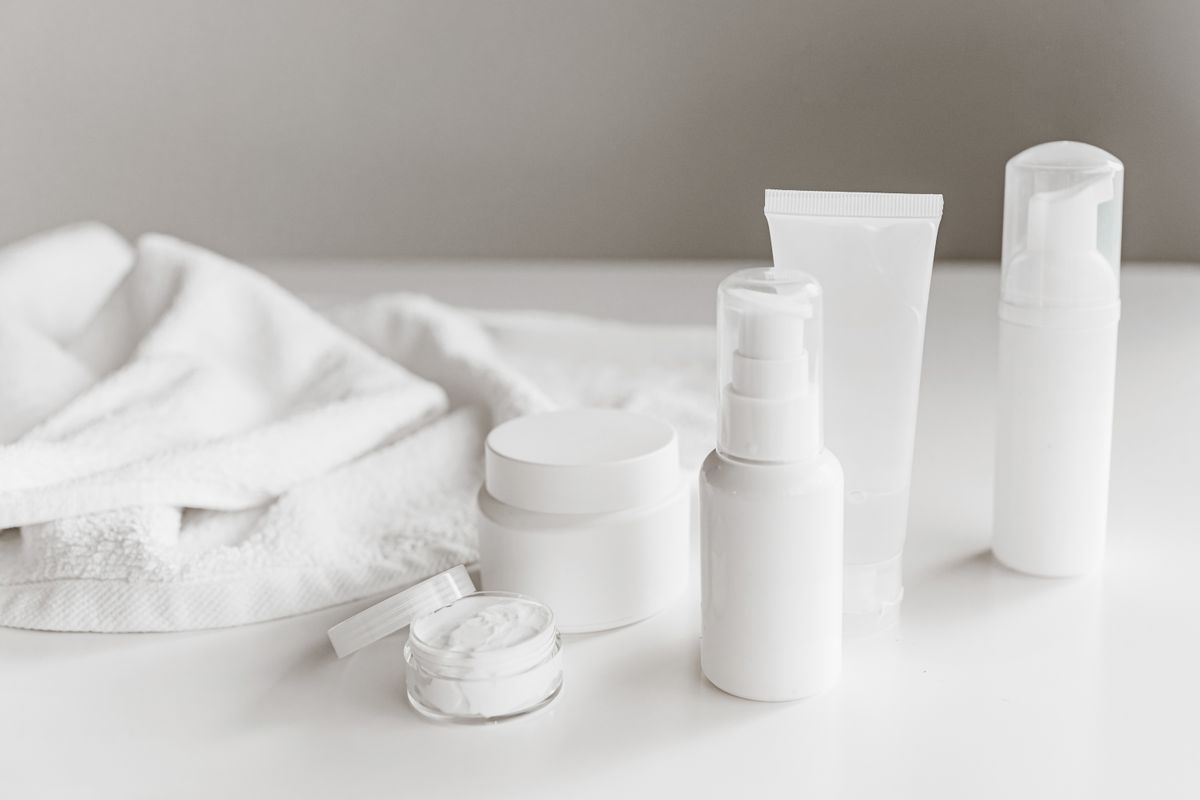
Beauty trends move fast. One week everyone is talking about glass skin, skin cycling, lip stains, or scalp serums. The next week it is a new tool, a “miracle” ingredient, or a product that promises instant results. Some trends are genuinely useful. Some are mostly harmless fun. And some are just clever marketing dressed up as advice.
That is why the smartest beauty habit is not buying every new launch. It is learning how to judge a trend before it gets into your cart or onto your face. The American Academy of Dermatology says social media has made people more aware of skin care, but it also warns that not every trend is right for every skin type and that some can be harmful. Its dermatologists specifically note that piling on too many products can lead to clogged pores, irritation, and breakouts. (American Academy of Dermatology)
The first question to ask is simple: what problem is this trend actually solving? If a trend has no clear purpose beyond looking good in a video, that is your first clue it may be more about attention than results. Helpful trends usually solve a real problem. They make cleansing easier, sunscreen more wearable, hydration more consistent, or makeup more practical. Harmless trends tend to be mostly aesthetic, like a new lip combo or a different blush placement. Marketing-driven trends usually promise transformation without being specific about how or why they work.
The second question is whether the trend fits your skin, hair, nails, or routine. AAD dermatologists stress that trends are not universally suitable for all skin types. Something that works for an influencer with resilient skin may go badly on sensitive, acne-prone, rosacea-prone, or eczema-prone skin. Cleveland Clinic makes the same basic point in a different way: everyone’s skin reacts differently, and people with a history of irritation or skin conditions should be especially cautious with online advice. (American Academy of Dermatology)
A helpful beauty trend usually has three qualities. First, it is based on a product type or habit that already makes sense in basic skin care, body care, or makeup. Second, it does not require extreme use, pain, or damage to work. Third, it can be explained without hype. For example, the AAD notes that some parts of the glass-skin trend are positive, such as moisturizing and using broad-spectrum SPF 30 or higher. That is a good sign. The useful part of the trend is really just solid skin care with a trendy name. (American Academy of Dermatology)
A harmless trend usually sits in the middle. It may not be essential, but it is not especially risky either. That could mean a different makeup finish, a softer lip look, or a body care routine that feels a bit more luxurious. The test here is whether it is easy to stop and unlikely to cause damage. If the trend is mostly reversible and does not ask you to irritate the skin, breach the cuticle, or use strong actives recklessly, it may simply be a style choice rather than a serious concern.
The trends that deserve the most skepticism are the ones that ask you to do something invasive, painful, or oddly urgent at home. The AAD specifically warns against at-home cosmetic procedures such as microneedling, injecting fillers, and using lasers for hair removal, noting the risk of infection, bad reactions, and improper technique. Its dermatologists also warn that a social media video may show an immediate good result while hiding what happened later. That is a major clue that a trend is not harmless just because it looks impressive online. (American Academy of Dermatology)
Another smart question is whether there is any evidence beyond before-and-after clips. A trend is more likely to be helpful if experts can explain what it does, what its limits are, and who should avoid it. The AAD’s discussion of at-home red-light devices is a good example of measured advice: some devices are FDA-cleared for certain uses, but more research is still needed on exactly how effective they are, and dermatologist guidance is still recommended. That is very different from an influencer saying something “works for everyone.” (American Academy of Dermatology)
You should also look at who benefits if you believe the trend. The Federal Trade Commission says endorsements must be honest and not misleading, and that material connections, such as payment or free products, should be disclosed clearly when they could affect how people evaluate the recommendation. In plain terms, if someone is praising a product and has been paid, gifted the product, or has another brand relationship, you should weigh that differently than a true independent review. (Federal Trade Commission)
That does not mean every sponsored post is false. It means you should slow down when a trend seems built around urgency, scarcity, or emotional pressure. Phrases like “you need this,” “everyone is doing this,” or “results overnight” are often marketing signals, not evidence. A helpful trend usually still sounds sensible when you strip away the branding.
One of the best ways to test a new trend is to introduce it slowly. Cleveland Clinic recommends doing a skin test with new products first, especially to check for irritation. That matters because a trend can be theoretically harmless and still be wrong for your skin. If a product stings, causes a rash, or makes your skin feel worse, the internet’s enthusiasm does not matter much. Your own skin is better evidence than a viral video. (Cleveland Clinic)
A final filter is this: would a dermatologist, doctor, or other qualified professional describe the trend in the same way the marketing does? Cleveland Clinic advises caution with AI and social media beauty advice and recommends consulting a dermatologist when you have concerns, sensitive skin, or a condition you are trying to treat. That is especially important when a trend claims to fix acne, pigmentation, hair loss, or signs of aging. The bigger the promise, the more careful you should be. (Cleveland Clinic)
In the end, the best way to tell whether a beauty and cosmetic trend is helpful, harmless, or just clever marketing is to ask a few steady questions. Does it solve a real problem? Does it suit your skin or routine? Is it reversible and low-risk? Is there expert support for it? And is the person promoting it actually being transparent? When you start judging trends that way, hype loses a lot of its power, and your routine gets a lot smarter.